How to setup fees collection in Classunify Institute Management ERP:
To setup fee collection, simply follow the steps:
At first, you have to add Fee Types.
To add fee types, follow the steps:
1. From the side menu bar, click on Fees Collection > Fee Types > Add New.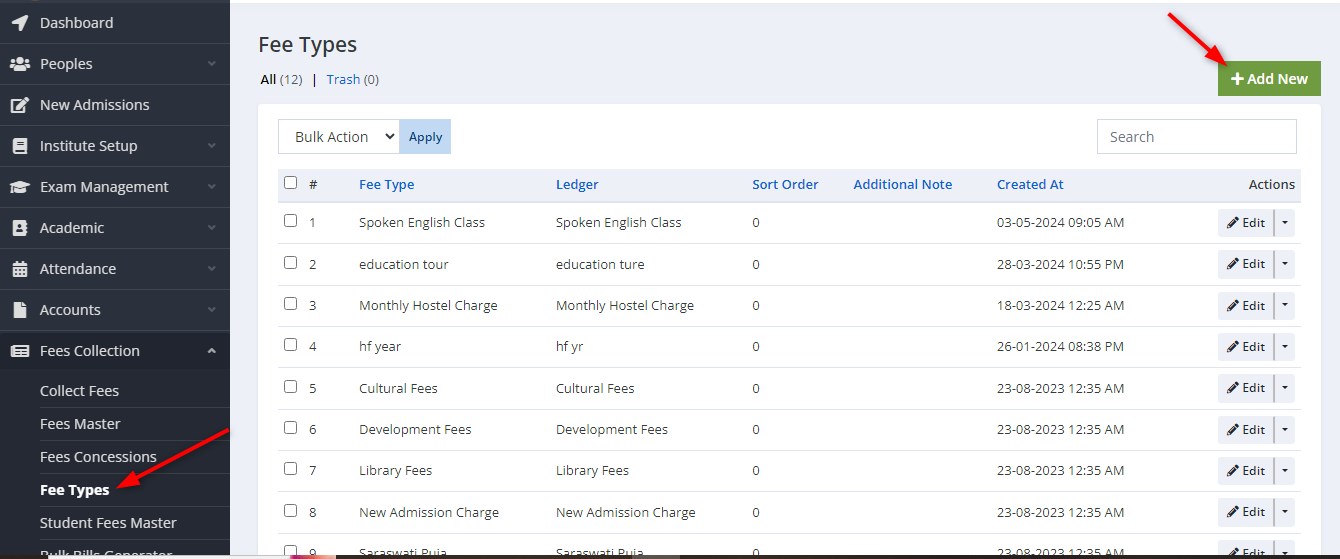
2. Enter all the details and click on Save.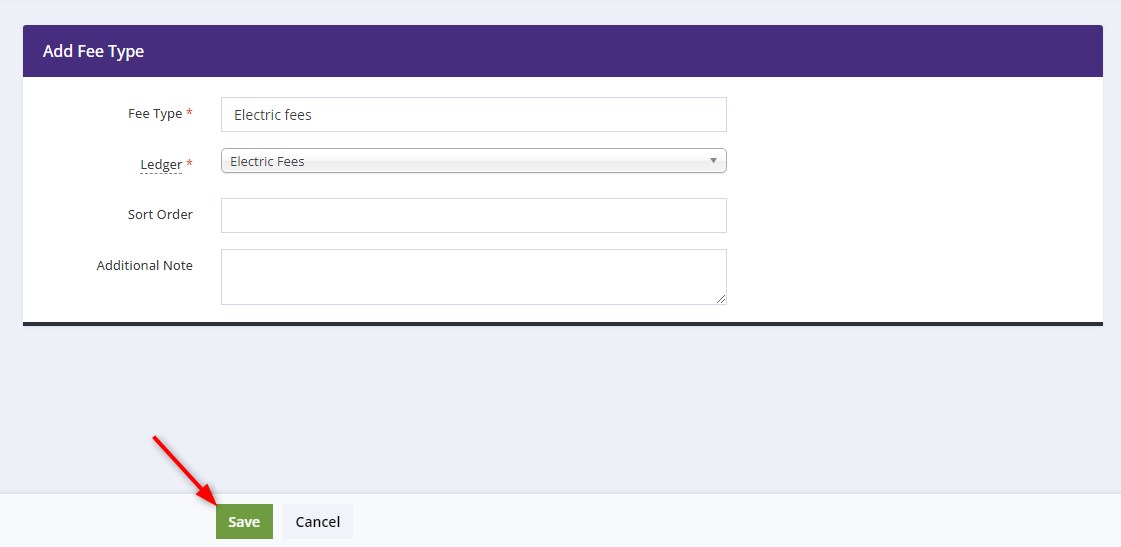
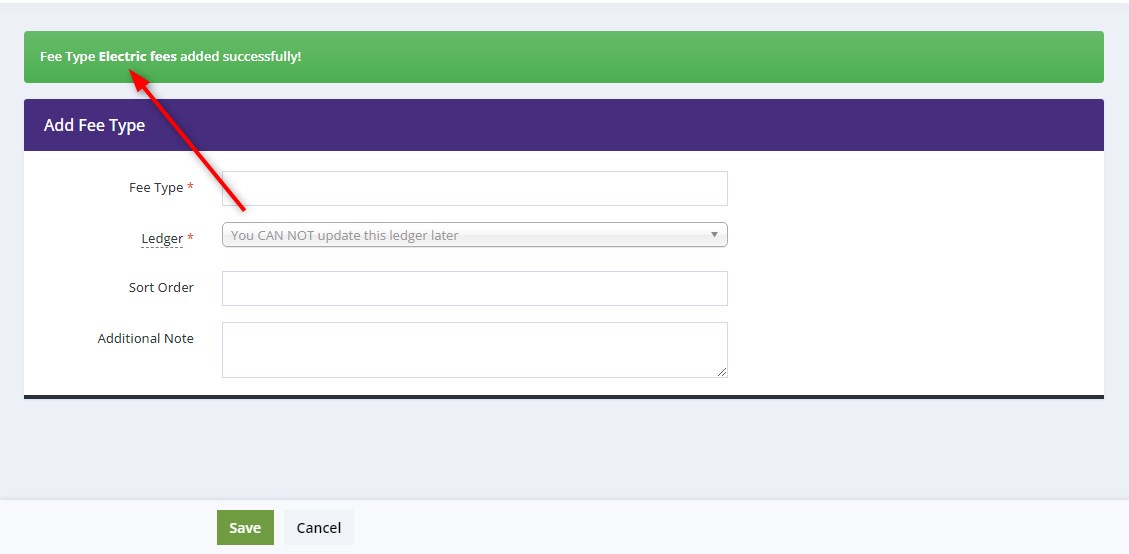
When creating a fee type, the ledger assigned cannot be changed later.Therefore, it is recommended to name the ledger the same as the fee type to avoid confusion in the future. This ensures clarity and helps keep fee records organized.
3. You are done!.
Secondly, you have to add Fees Master.
To add fees master, follow the steps:
1. From the side menu bar, click on Fees Collection > Fees Master > Add New.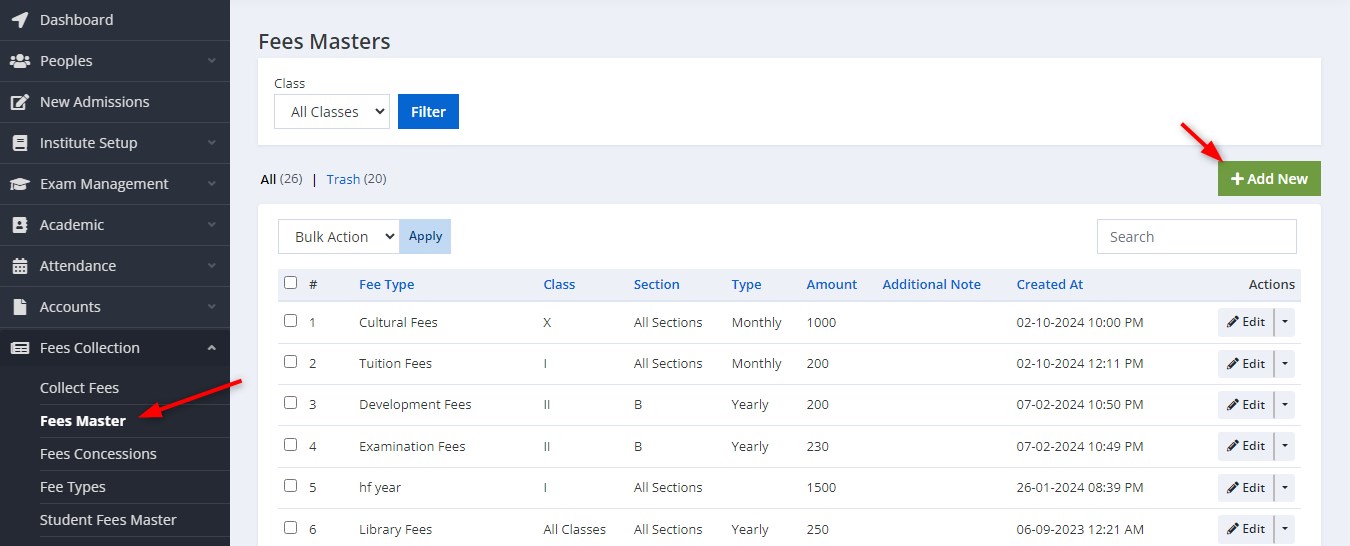
2. Enter all the details and click on Save.
3. You are done!
Thirdly, you have to create a bill.
To create a bill, follow the steps:
1. From the side menu bar, click on Fees Collection > Collect Fees > choose Class, Section, Student > click on Search.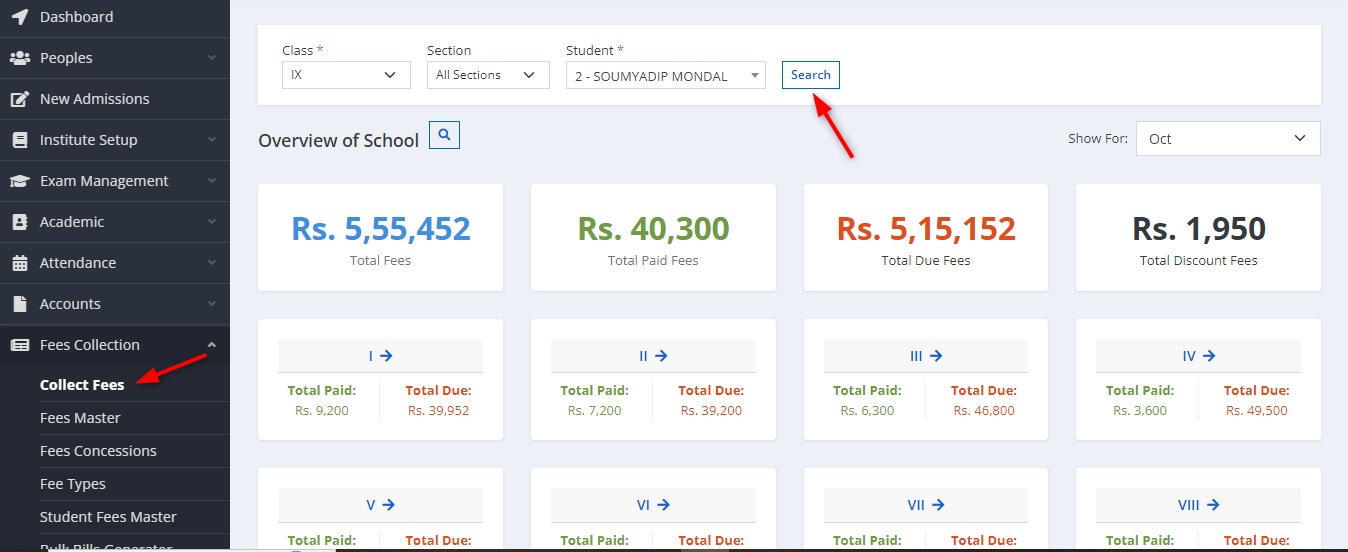
2. After searching for the student, the details will be displayed. Click on the Add New button under the Bills section.
3. In the Create Bill popup, select the billing period, date. Once all fields are filled in, click on the Create to generate the bill.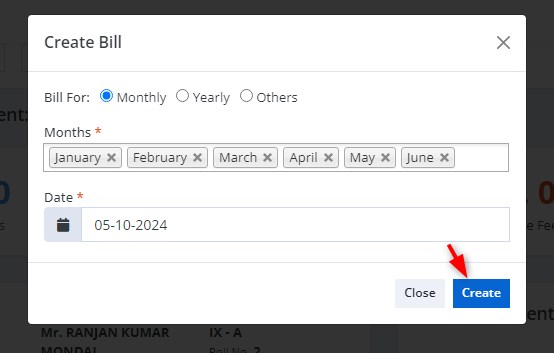
4. Once the bill is created, it will appear in the Bills section.
# : Bill Number
Date: The billing date.
Type/Month: The relevant month for the bill.
Status: Indicates whether the bill is Due.
Amount: The amount to be paid.
Action: The option to delete the bill if needed.
The Total Amount for the selected months is shown at the bottom (in this case, Rs. 5,100).